Giving your bar stools a fresh look can really change how a room feels, you know? It's a way to put your own mark on things, making a space feel more like you. Maybe your old stools are looking a little tired, or perhaps you just want to update their style to fit a new design idea you have. Doing this yourself, well, it's a pretty satisfying project that doesn't need a whole lot of fancy equipment or a lifetime of experience.
You might think it's a big job, but it's actually something many people can do right at home, even if you haven't picked up a staple gun before. We're going to walk through the steps, making it as clear as possible, so you feel ready to give it a try. It's about bringing new life to something you already own, and in a way, saving a little money too, compared to buying brand new pieces. Basically, it's a win-win situation for your home and your wallet.
This guide is here to help you get started, covering what you might need and how to go about each part of the process. We'll talk about getting things ready, taking off the old fabric, and putting on the new material so it looks neat and professional. It’s a chance to be a bit creative and, you know, make something truly unique for your living area or kitchen. So, let’s get into the details of making those bar stools look great again.
- Elsewhere Espresso
- Wild Prairie Harley
- Frandsen Dental Orem Utah
- Center Security Training Nyc
- Counseling Center Marquette
Table of Contents
- Getting Ready to Upholster Your Bar Stools?
- Taking Apart Your Bar Stool- How to Upholster Bar Stools
- Putting on the New Fabric- How to Upholster Bar Stools
- Finishing Up Your Upholstery Project- How to Upholster Bar Stools
Getting Ready to Upholster Your Bar Stools?
Before you even think about cutting fabric or pulling out old staples, it’s a good idea to get everything in order. This part is about making sure you have all the bits and pieces you’ll need so you don’t have to stop halfway through to run to the store. Think of it like getting your workspace ready, you know, clearing a spot where you can spread out and work comfortably. You'll want a place with good light, and enough room to move around your bar stool without bumping into things. This really helps keep things flowing smoothly, honestly.
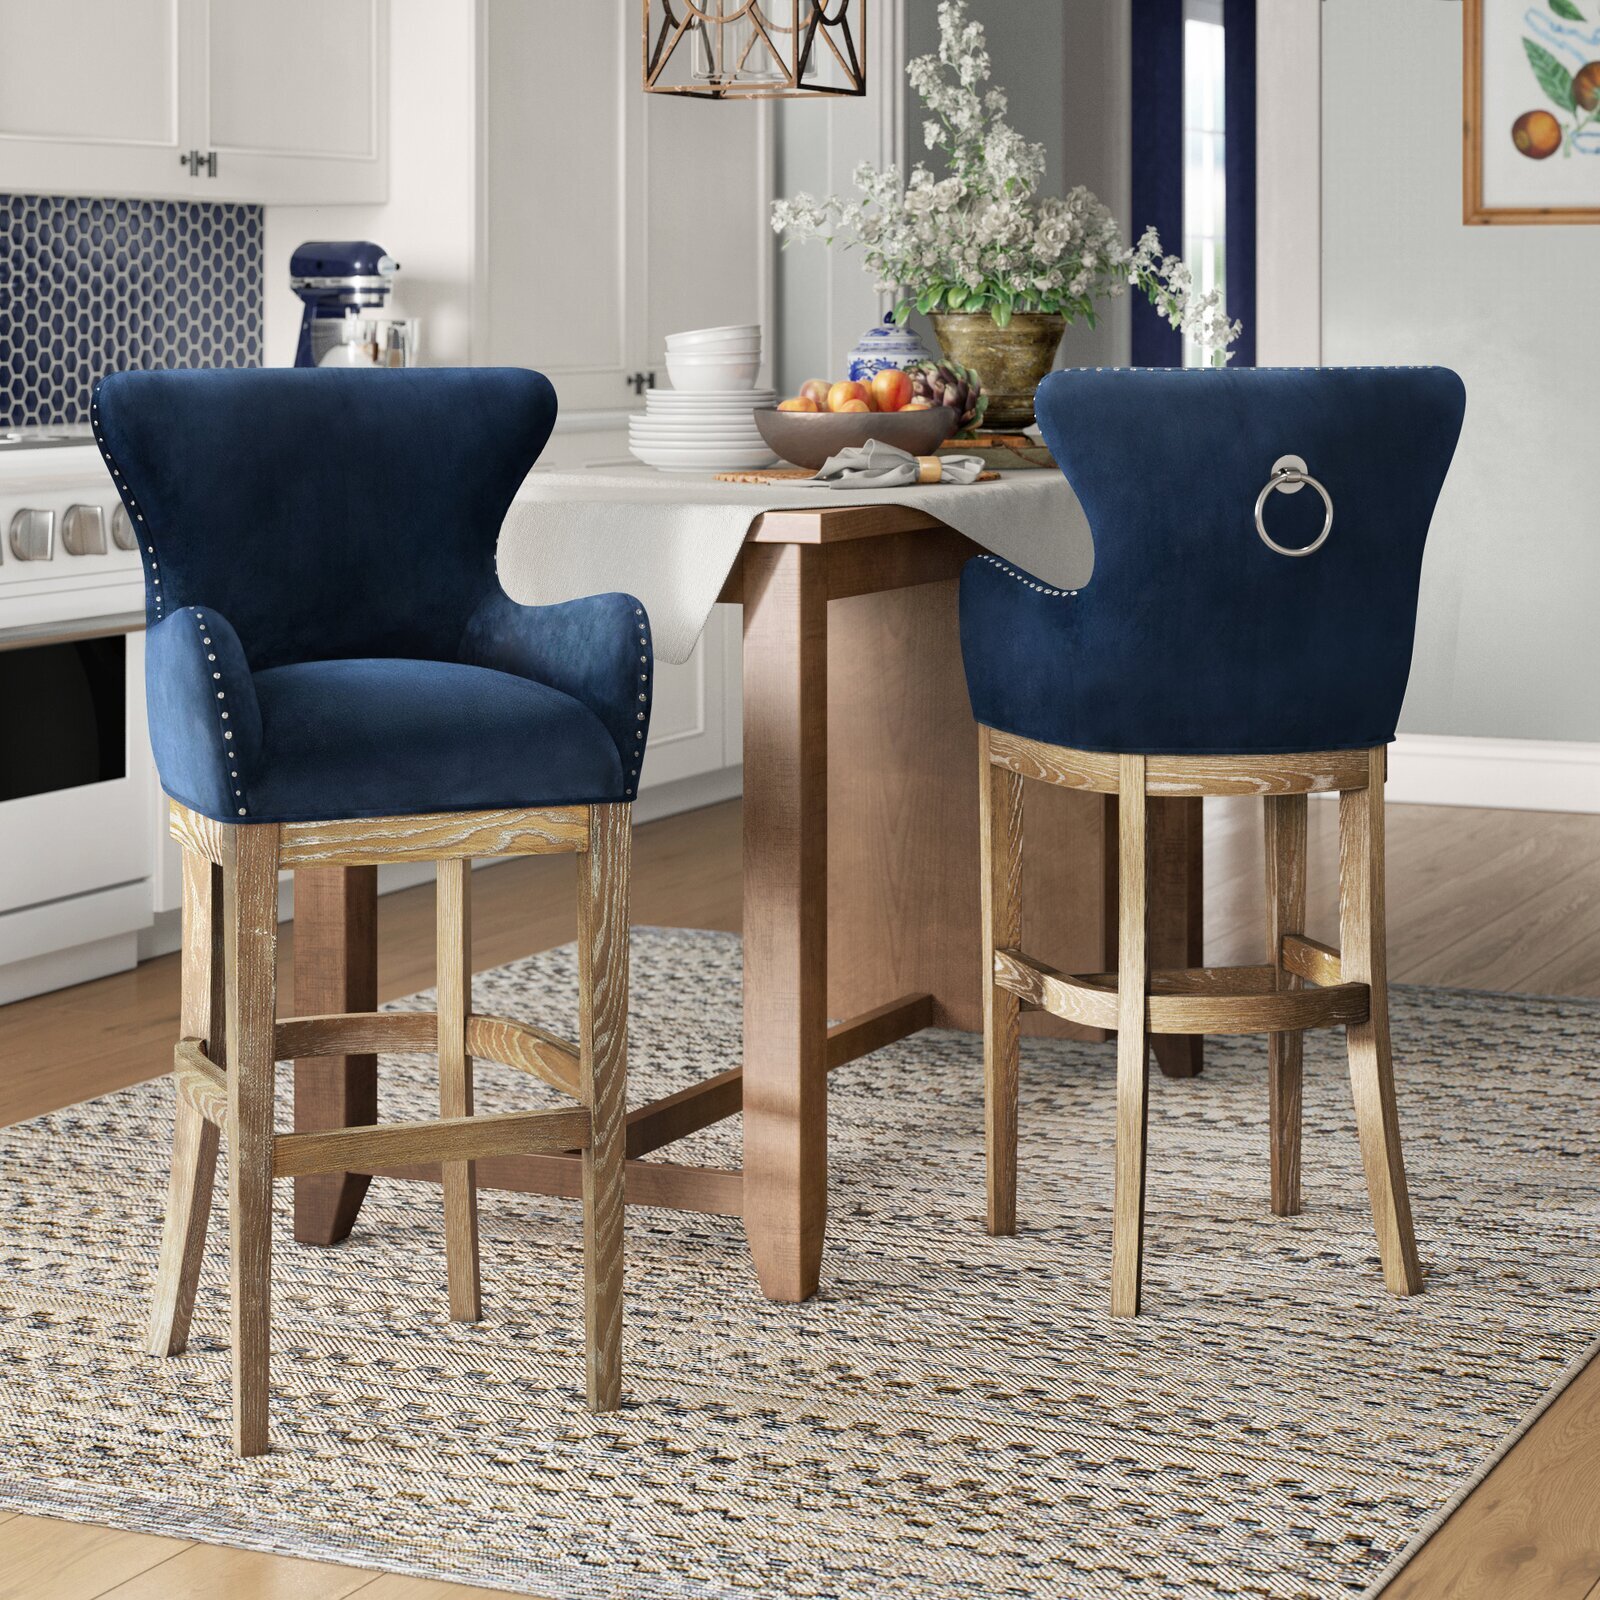
Picking out your fabric is a pretty big step here. You want something that not only looks good but also feels nice and will hold up to daily use. There are so many choices, from patterns that really stand out to plain colors that blend in. Consider how often the stools get used, and what kind of spills or wear they might experience. A fabric that’s easy to wipe clean might be a good call for a kitchen, for example. It’s almost like choosing clothes for your furniture, in a way, something that suits its purpose and its surroundings.
You also need to figure out how much fabric you’ll actually need. This depends on the size of your bar stool seats and how many stools you’re working on. It’s always better to have a little extra than not enough, just in case you make a mistake or want to adjust something later. Measuring carefully is a good idea, and maybe adding a few extra inches to your measurements for a bit of wiggle room. You know, just to be safe. You don't want to run short right at the end.
What Tools Do You Need for Upholstering Bar Stools?
Having the right tools makes a real difference in how easy this project feels. You don't need a whole workshop, but a few key items will help a lot. First off, you’ll want something to take out the old staples. A staple remover or a flat-head screwdriver and a pair of pliers work pretty well for this. You know, those little tools that help you pry things open. You might be surprised how many staples are holding that old fabric on, so something that saves your fingers is a good idea.
Next, for putting on the new fabric, a staple gun is pretty much a must-have. You can get a manual one that you squeeze, or an electric one that does a lot of the work for you. The electric ones are quite handy, especially if you have a few stools to do, or if your hands get tired easily. Just make sure you have plenty of staples that are the right size for your gun. It’s like having the right kind of fuel for your car, you know, it just makes everything run better.
You'll also need some scissors, and it's best if they are quite sharp, especially for cutting fabric. Regular paper scissors might not cut it, literally. A marker or chalk for tracing your patterns on the fabric is also useful. And sometimes, a little bit of batting or foam can help make the seat feel more comfortable and look smoother, so consider if you want to add that. Basically, these are the simple things that make the job a lot less frustrating, I mean, you know, for real.
Taking Apart Your Bar Stool- How to Upholster Bar Stools
This part is where you start to see the old go away and make room for the new. It's about carefully removing the existing fabric and any padding that’s there. You want to be gentle but firm. Start by flipping your bar stool over so you can see the underside of the seat. You'll probably see a lot of staples holding the fabric in place. This is where your staple remover or screwdriver comes in handy, you know, for prying those little metal bits out.
Work your way around the edge, pulling out each staple one by one. It can be a bit time-consuming, but taking your time here prevents damaging the wooden frame underneath. If there's an old layer of foam or batting, you might want to remove that too, especially if it's lumpy or has seen better days. Sometimes, you’ll find horsehair or other older stuffing materials, which, you know, can be a bit messy and falling apart. If that's the case, it’s probably best to take it all off.
Keep the old fabric piece. This is actually pretty important because it acts as a pattern for your new material. Lay it flat and smooth it out, so you can use it to cut your new fabric to the correct shape and size. It’s like having a template, which just makes things a lot easier down the line. You know, it saves you from having to guess or measure from scratch, which can be a bit of a headache.
Preparing the Base for New Upholstery- How to Upholster Bar Stools
Once the old stuff is gone, it’s time to get the seat base ready for its new covering. This step is about making sure you have a smooth, clean surface for the new fabric to sit on. Look over the wooden seat base. Are there any sharp edges or splinters that could poke through the new fabric over time? If so, a little sanding can smooth those out. You want to avoid anything that might cause a tear later on, you know, like a little snag waiting to happen.
If you removed old foam or batting, this is the moment to put down your new padding. You can use upholstery foam, cotton batting, or a combination of both. Foam gives a firm, supportive feel, while batting adds a softer layer on top. Cut your foam to the shape of the seat, making sure it’s a little bit bigger than the wooden base so it wraps over the edges slightly. This gives a nice, rounded look to the seat. You know, it just makes it look more plump and inviting.
Secure the foam or batting to the seat base. You can use a spray adhesive designed for fabric, or a few staples on the underside to hold it in place. The goal here is to keep it from shifting around as you pull the new fabric over it. This part is pretty simple, but it makes a big difference in the final look and feel of your upholstered bar stool. It’s like laying a good foundation for a building, you know, it makes everything else stand up better.
Putting on the New Fabric- How to Upholster Bar Stools
Now for the fun part: adding the new fabric. Lay your chosen material face down on a clean surface. Place the old fabric piece on top of it, or if you don't have the old one, use your carefully measured pattern. Trace around it with your marker or chalk, then cut out your new fabric. Remember what we talked about earlier, giving yourself a little extra fabric around the edges for pulling and stapling. It’s almost like wrapping a present, you know, you need that extra paper to fold around the edges.
Center your seat base, with its new padding, on top of the cut fabric. Make sure the fabric pattern, if you have one, is straight and centered the way you want it to appear on the finished stool. This is where you really start to see your bar stool transforming. It’s a pretty exciting moment, to be honest. You're bringing your vision to life, which is a nice feeling.
Start stapling the fabric to the underside of the seat base. Begin in the middle of one side, pull the fabric taut, and put in a staple. Then move to the opposite side, pull that fabric taut, and put in another staple. Do the same for the other two sides. This helps keep the fabric even and prevents wrinkles. Work your way from the center outwards, pulling the fabric firmly as you go. You want it smooth, but not so tight that it distorts the foam. It's a balance, you know, a bit of an art.
How Do You Handle Tricky Corners When Upholstering Bar Stools?
Corners can be a little bit of a puzzle, but they’re totally manageable once you get the hang of it. The key is to reduce bulk and create neat folds. When you get to a corner, you'll have more fabric than you need. The idea is to fold the fabric neatly, almost like wrapping a gift box. You might make one main pleat or a couple of smaller ones, depending on the shape of your stool and the thickness of your fabric. It’s about making it look tidy, you know, without a lot of extra fabric sticking out.
Pull the fabric around the corner, gathering it into a fold or pleat. You want to make sure the fabric on the top of the seat stays smooth and doesn't get wrinkled. Once you have the fold looking good, staple it down firmly. You might need to trim away some of the excess fabric in the corner to reduce bulk, but be careful not to cut too close to your staples or the main fabric line. A little snip can make a big difference here, honestly.
Some people like to make a single, neat pleat, while others prefer to trim the fabric and make a few smaller folds. It really depends on the style you're going for and the shape of the corner itself. Experiment a little on a practice piece of fabric if you're feeling unsure. The goal is a clean, finished look. You know, something that makes you proud of your work when you step back and look at it.
Finishing Up Your Upholstery Project- How to Upholster Bar Stools
Once all the fabric is stapled down around the edges, take a moment to admire your work. But you're not quite done yet! There might be some excess fabric hanging off the edges on the underside of the seat. You'll want to trim this away. Use your sharp scissors to cut the fabric close to the staple line, but not so close that you risk cutting the staples themselves or unraveling the fabric. A clean edge just makes everything look more professional, you know, like it was done by someone who knows what they's doing.
For an even cleaner look on the underside, you can add a dust cover. This is a piece of thin, non-woven fabric, often black, that covers all the staples and raw edges. It gives the underside a really polished finish. Cut the dust cover to fit the underside of your seat, and then staple it in place. This is a small detail, but it really makes the whole project feel complete. It’s like adding the final touch to a painting, you know, it just brings it all together.
Finally, reattach the newly upholstered seat to the bar stool frame. This usually involves screwing it back into place from the underside. Make sure all the screws are tight and the seat is secure. Give your bar stool a little test sit. Does it feel comfortable? Does the fabric feel smooth? If everything looks and feels good, then you've successfully upholstered your bar stool! It's a pretty satisfying feeling, you know, seeing your hard work pay off like that.
What If Things Go Wrong While Upholstering Bar Stools?
It's totally normal for things to not go perfectly on the first try, or even the second. If you find a wrinkle in your fabric after stapling, don't worry. You can usually remove a few staples, pull the fabric tighter in that area, and re-staple it. It’s like a little adjustment, you know, nothing too serious. Sometimes, the fabric might not be perfectly centered, or a staple might not go in all the way. These are all pretty easy fixes.
If a staple doesn't go in properly, you can try hitting it gently with a hammer to push it flush with the wood. If it's really bent, it's better to pull it out and try again with a fresh staple. If your fabric looks a bit lumpy, it might be an issue with the padding underneath. You might need to take the fabric off and smooth out the foam or batting, adding a bit more here or trimming a little there. It’s about trial and error, you know, learning as you go.
The main thing is not to get discouraged. Upholstery is a skill that gets better with practice. Each project teaches you something new. If you run into a problem you can’t figure out, there are lots of online communities and videos that can offer advice. Just remember that it’s a process, and the goal is to have a bar stool you’re happy with. Basically, you know, just keep at it, and you'll get there.
This guide has walked through the process of giving your bar stools a fresh, new look. We started with getting everything ready, from picking out your fabric to gathering the tools you'd need, like a staple gun and something to take out old staples. We then moved on to carefully taking apart the old seat, making sure to keep the old fabric as a pattern. Preparing the base was next, smoothing out any rough spots and adding new padding for comfort and a nice shape. Then came the exciting part of putting on the new fabric, pulling it taut and stapling it down, with a special look at how to handle those sometimes tricky corners to make them neat. Finally, we talked about the finishing touches, like trimming excess fabric and adding a dust cover for a polished look, and also what to do if you hit a snag or something doesn't go quite as planned. It's about giving your bar stools a new lease on life, making them fit your style, and enjoying the process of doing it yourself.