When you're working on a building project, especially one that moves a lot of earth around, keeping that soil from washing away can be a real concern. It's a pretty common issue, and there's a simple, effective way to help deal with it, particularly for those building efforts up in places like northern Wisconsin, where the ground might be a bit more prone to shifting. This guide is all about showing you how to set up a barrier that helps keep your site tidy and the soil where it should be, so, you know, things stay put.
This whole process, you see, it’s about putting in place some easy steps to cut down on how much earth moves around on your building spot. It's a way to be thoughtful about how your work affects the surrounding land, making sure that the earth you’ve moved for your construction doesn’t just run off into places it shouldn't. You can, in fact, put in a fence that does a good job of this, and it doesn’t take a lot of special skill, just a bit of careful attention to the instructions we're going to share, like your own personal helper.
We're going to walk you through the steps for putting in what people call a silt fence, a barrier that helps with home building projects that are done in a way that respects the land. This kind of fence is quite good at stopping disturbed earth from your building work from just flowing away. It’s a pretty straightforward thing to do yourself, and we’ll cover what it’s for, what you’ll need, how to get the spot ready, how to put in the posts, and so on, basically, everything you need to know.
- Just Blow Little Rock Ar
- Lila Hospital Gown
- Brothers Bbq San Leandro
- Meritt Bank
- Fraser Suites Seef Bahrain
Table of Contents
- What's the Big Idea Behind a Silt Fence?
- Why Bother with How to Install Silt Fence?
- What Do You Need to Get Started with How to Install Silt Fence?
- Picking Your Spots - How to Install Silt Fence
- Getting Ready - How to Install Silt Fence
- Putting Up the Supports - How to Install Silt Fence
- Attaching the Fabric - How to Install Silt Fence
- How Can You Tell if Your Silt Fence is Working Right?
What's the Big Idea Behind a Silt Fence?
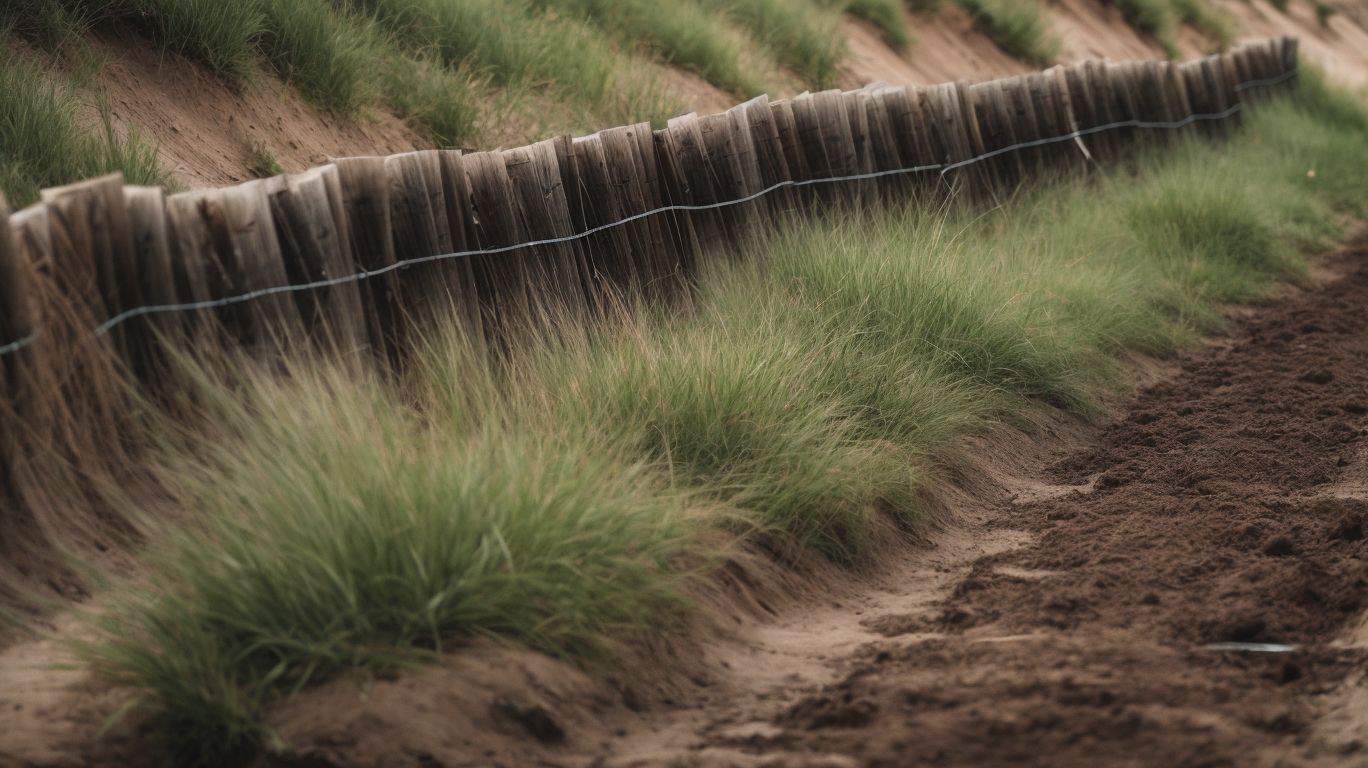
A silt fence, at its heart, is a very simple idea, really, a kind of barrier put up to keep loose dirt from moving where it shouldn't. When you dig or move earth for a building, that ground becomes loose, and if it rains or water flows across the site, that loose earth can just wash away. This fence acts like a filter, letting water pass through but holding the soil back, which is, you know, pretty handy.
The main job of this kind of fence is to keep the soil that’s been stirred up by your construction work from running off. This means it helps protect nearby streams, lakes, or even just other parts of your property from getting covered in mud. It's a way to manage the flow of water and earth on a building site, helping you stay on the good side of rules about water runoff and keeping the land in good shape, in some respects, a very simple solution to a common problem.
The material used for this kind of fence is typically a synthetic mesh, a kind of woven fabric that has tiny holes. These holes are small enough to catch and hold back the bits of soil, but they are big enough to let water slowly seep through. This means water doesn't just pile up behind the fence, which could cause other issues; instead, it filters through, leaving the earth behind, which is actually quite clever.
- Walk Up Song Little Leauge Catcher Instagram Reel
- Pablo Felix
- Snappys Small Bar
- Bars Royersford
- Srs Mutt
Why Bother with How to Install Silt Fence?
You might wonder why going to the trouble of putting up a silt fence is worth it. Well, it's a really good way to keep the ground from washing away. When you are building, you often dig up a lot of earth, and that loose earth can easily get carried away by rain or melting snow. This fence acts as a guard, holding that earth in place, so, you know, it doesn't end up in places it shouldn't.
Putting in a silt fence is part of building homes in a way that shows care for the land around you. It helps prevent what people call "erosion," which is when soil gets worn away and carried off by water or wind. By keeping the disturbed soil on your building spot, you are doing your part to protect the environment nearby, and it’s a pretty responsible thing to do, really.
This whole process of putting in a silt fence involves a set of steps that make sense, and it asks for fabric that can stand up to the weather, along with stakes that are dependable. It also means paying attention to the guidelines that are set out for managing stormwater and keeping earth from washing away. Following these steps helps make sure your building project goes smoothly and doesn't cause problems for the land or water around it, which is, as a matter of fact, quite important.
What Do You Need to Get Started with How to Install Silt Fence?
To get your silt fence up and working, you’ll need just a couple of main things, basically, some wooden stakes and the special silt fence fabric. These are the two main parts that make the whole system work. Having these ready before you start will make the job much smoother, and you'll be able to move through the steps without having to stop and find things, which is, like, a good way to work.
The wooden stakes are what give the fence its structure and hold it upright. You want stakes that are strong enough to be driven into the ground and to hold the fabric taut against the pressure of any water or soil that might build up. Choosing stakes that are a good size and thickness will help your fence stay standing and do its job well, so, you know, pick wisely.
Then there's the silt fence fabric itself. This is that synthetic mesh material we talked about earlier, the kind that lets water filter through but catches the soil. You'll need enough of this fabric to cover the entire length of where you plan to put your fence. Getting a good quality fabric that won't tear easily is a smart move, as it needs to hold up against the elements and the weight of trapped soil, honestly, it makes a big difference.
Picking Your Spots - How to Install Silt Fence
When you're getting ready to put in a silt fence, the very first thing you need to do is pick just the right spot to set it up. This means taking a good look at the ground where you're building, thinking about how it slopes, where water tends to flow, and how much earth you expect to move around during your building work. It’s all about putting the fence where it can do the most good, to be honest.
Consider the lay of the land, you know, the way the ground goes up and down. You want to place your fence where it can effectively catch any soil that might be carried downhill by water. Thinking about the slope is pretty important because water naturally flows downwards, and your fence needs to be in its path to do its job. So, figuring out the natural contours of your building spot is a very helpful first step.
Also, think about where water typically runs on your property, especially when it rains a lot. If you can see natural paths where water collects or flows, those are often the best places to put your silt fence. And, of course, think about the parts of your site where you'll be digging or moving the most earth. These are the areas where soil is most likely to get loose and wash away, so your fence should be positioned to protect those spots, basically, right where the action is.
A good rule of thumb is to always install these fences following the natural lines of the land, what people call the "contour." This means instead of putting it in a straight line across a slope, you let it curve and follow the natural dips and rises of the ground. This helps the fence work better with the way water moves across the land, making it more effective at holding back soil, and it's almost like the land is telling you where to put it.
Getting Ready - How to Install Silt Fence
Before you start hammering in stakes, you'll want to get the site ready. This involves a bit of clearing and marking to make sure you have a clear path for your fence. A little preparation goes a long way in making the actual installation process smooth and simple. You know, just like getting your tools out before you start a project, it's about setting yourself up for success, and that's pretty much it.
First, clear away any big rocks, roots, or other bits that might get in the way of putting your stakes into the ground or laying down the fabric. You want a relatively clean line where your fence will go. This doesn't mean you need to make it perfectly smooth, but just remove anything that would cause a problem for the installation. It’s like clearing a path for a walk, just making it easier to move along, and that, is that.
Once the path is somewhat clear, it's a good idea to mark out where your fence will go. You can use string lines, spray paint, or even just a shovel to make a small trench line to guide you. This helps ensure your fence follows the contour of the land as intended and stays in a consistent line. Having a clear visual guide will help you keep things straight and even, which, honestly, makes the job much less of a headache.
Putting Up the Supports - How to Install Silt Fence
After you’ve got your spot picked and cleaned up a bit, the next step is to put in the wooden stakes that will hold up your fence. These stakes are the backbone of your silt fence, so getting them in properly is pretty important. You'll want to make sure they're sturdy and spaced out in a way that gives the fabric good support, so, you know, it can do its job effectively.
You'll drive these wooden stakes into the ground along the line you've marked. The idea is to get them deep enough so they are firm and won't wobble easily. How deep depends a bit on your soil, but generally, you want a good portion of the stake buried to give it stability. You can use a sledgehammer or a post driver for this, making sure each stake stands up straight and strong, which is, basically, what you need.
The spacing between your stakes matters too. If they are too far apart, the fabric might sag, or it might not hold up well against the pressure of water and soil. If they are too close, you're just using more materials than you need. A consistent distance between each stake helps distribute the load evenly across the fence, making it more reliable overall, and that, is that, a pretty straightforward idea.
Attaching the Fabric - How to Install Silt Fence
Once all your wooden stakes are standing tall, it's time to bring out the silt fence fabric and attach it. This is where your barrier really starts to take shape. You'll unroll the fabric along the line of stakes, making sure it’s positioned correctly to catch any runoff. It’s about getting that mesh material firmly connected to its supports, so, it can stand strong against the elements.
You'll want to attach the fabric to the stakes, typically on the uphill side of the fence, so that the water pressure pushes the fabric against the stakes, making it tighter. There are different ways to attach it, like using heavy-duty staples or ties, but the main goal is to make a really good connection. You don't want any loose spots where soil could sneak underneath or around the fence, you know, that would defeat the purpose.
It's also a good idea to bury the bottom edge of the fabric a little bit into the ground. This helps to prevent water from flowing under the fence and carrying soil with it. You can dig a small trench, lay the fabric into it, and then backfill with soil, packing it down firmly. This creates a kind of seal at the base of the fence, making it much more effective at holding back the earth, which is, honestly, a very important step.
How Can You Tell if Your Silt Fence is Working Right?
After you’ve put in all that effort to install your silt fence, you might wonder how you can tell if it’s actually doing its job. Checking on your fence every so often, especially after a good rain, is a pretty smart thing to do. You want to see that it's holding up and that the soil is staying put where it should, so, you know, you can be confident in your work.
One clear sign that your silt fence is working well is if you see soil accumulating on the uphill side of the fence, but the area on the downhill side remains relatively clean. This means the fence is successfully catching the earth that would otherwise have washed away. If you see clear water flowing through the fabric, that’s also a good sign, as it shows the filtering action is happening as it’s meant to, basically, doing what it was designed to do.
On the other hand, if you notice the fence is sagging, torn, or if water and soil are clearly flowing underneath or around it, then it might need a little attention. You might need to re-secure a section, patch a tear, or add more soil to the base if it’s washed away. Regular checks and quick fixes will keep your silt fence working its best throughout your building project, which, in fact, saves you headaches later on.
Keeping an eye on the fence means you're being proactive about managing your site's erosion control. It's not just about putting it up and forgetting about it; it's about making sure it continues to serve its purpose. By doing these simple checks, you're helping to keep your building site tidy and protect the land around it from unwanted soil movement, and that's, pretty much, the whole idea.
- Inside Out 2 Air Bnb
- Grandstay Hotel Algona Ia
- Westmont Nursing
- Cape Massage Orleans
- Snappys Small Bar