Thinking about giving your kitchen or bathroom a fresh look? Wall-mounted faucets, you know, they really do bring a certain kind of sleekness and a feeling of openness to any washing area. These fixtures, which attach directly to the wall rather than the sink itself, can truly change the way a space feels. They offer a clean, uncluttered appearance that is, quite honestly, pretty appealing for many homeowners wanting a modern touch or even a vintage vibe. This style of faucet can be a fantastic choice for those looking to free up counter space or perhaps, just maybe, use a cool antique basin that wouldn't work with a deck-mounted tap.
While the idea of putting in a wall-mounted faucet might seem a little bit scary at first, especially if you're not used to working with pipes and water lines, it's actually something many home improvers can tackle. It does call for a bit more planning and a careful hand compared to a standard sink faucet, simply because you're dealing with pipes that will be hidden inside the wall. But with the right approach, and a good understanding of what's involved, you can definitely get this project done. It’s a process that requires a little bit of patience, certainly, but the end result can be quite rewarding, giving your room a very custom look.
We're going to walk through the steps for installing one of these stylish fixtures, from getting things ready to making sure everything is connected just right. We'll talk about what you need to think about before you even pick up a tool, and then how to put it all together. You might find that a project like this, which seems a bit complex at first glance, is actually very much within your reach. It's about taking it one step at a time, you know, and really focusing on the details. So, let's get into the specifics of how to plumb a wall mounted faucet and make your space look amazing.
Table of Contents
- What's the Big Deal with Wall-Mounted Faucets?
- Getting Ready to Plumb a Wall Mounted Faucet
- Preparing the Wall for Your New Faucet
- Putting It All Together - The Final Steps
What's the Big Deal with Wall-Mounted Faucets?
Wall-mounted faucets, they really do stand out, don't they? They bring a sort of sleekness and a clean appearance that many people really appreciate. Unlike traditional faucets that sit right on the sink or countertop, these fixtures come out from the wall itself. This design choice, you see, offers some pretty cool benefits. For one thing, it clears up a lot of space around your sink, making the area feel much bigger and less cluttered. It's almost like magic, how much room you gain, which is pretty neat. This extra room can be really handy for keeping things tidy or for simply enjoying a more open look.
Another great thing about these faucets is their adaptability. They give you, like, a lot more freedom with the kind of sink you can choose. If you've ever dreamed of using an old, perhaps very unique, wash basin that doesn't have holes for a faucet, a wall-mounted option makes that dream a reality. You're not stuck with sinks that have pre-drilled holes, which is quite liberating. This also means you don't have to worry so much about where the sink sits in relation to the faucet, because the faucet's spot is completely separate. It gives you, in a way, more creative freedom in designing your wash station.
Now, while a wall-mounted bathroom faucet might be a bit more straightforward for a beginner do-it-yourselfer, putting in a wall-mounted kitchen faucet can be, well, probably one of the more involved tasks you might take on. The principles are similar, yet kitchen faucets often have higher flow rates and sometimes pull-down sprayers, which can add a few more considerations behind the wall. Still, the fundamental process for how to plumb a wall mounted faucet is much the same, no matter if it's for your kitchen or your bath. It's all about getting those water lines in the right place, safely and securely, you know?
Just a little historical tidbit, too: back in the earlier times of plumbing, a bathroom faucet was often just a simple spout coming right out of the wall. So, in a way, these modern wall-mounted faucets are a nod to that past, blending old-world charm with current-day convenience and style. It's kind of interesting to think about how some things come full circle, isn't it? This style truly offers a unique blend of old and new, and it can really make a room feel special.
Getting Ready to Plumb a Wall Mounted Faucet
Before you even think about cutting into your wall, there's some important groundwork to lay. Getting everything ready beforehand can save you a lot of headaches and trips to the hardware store later on. This initial preparation is, honestly, one of the most important parts of the whole project. It's about setting yourself up for success, you know, making sure you have all your ducks in a row. You want to avoid any surprises once you start, and that means a good bit of planning.
What You'll Need to Plumb a Wall Mounted Faucet?
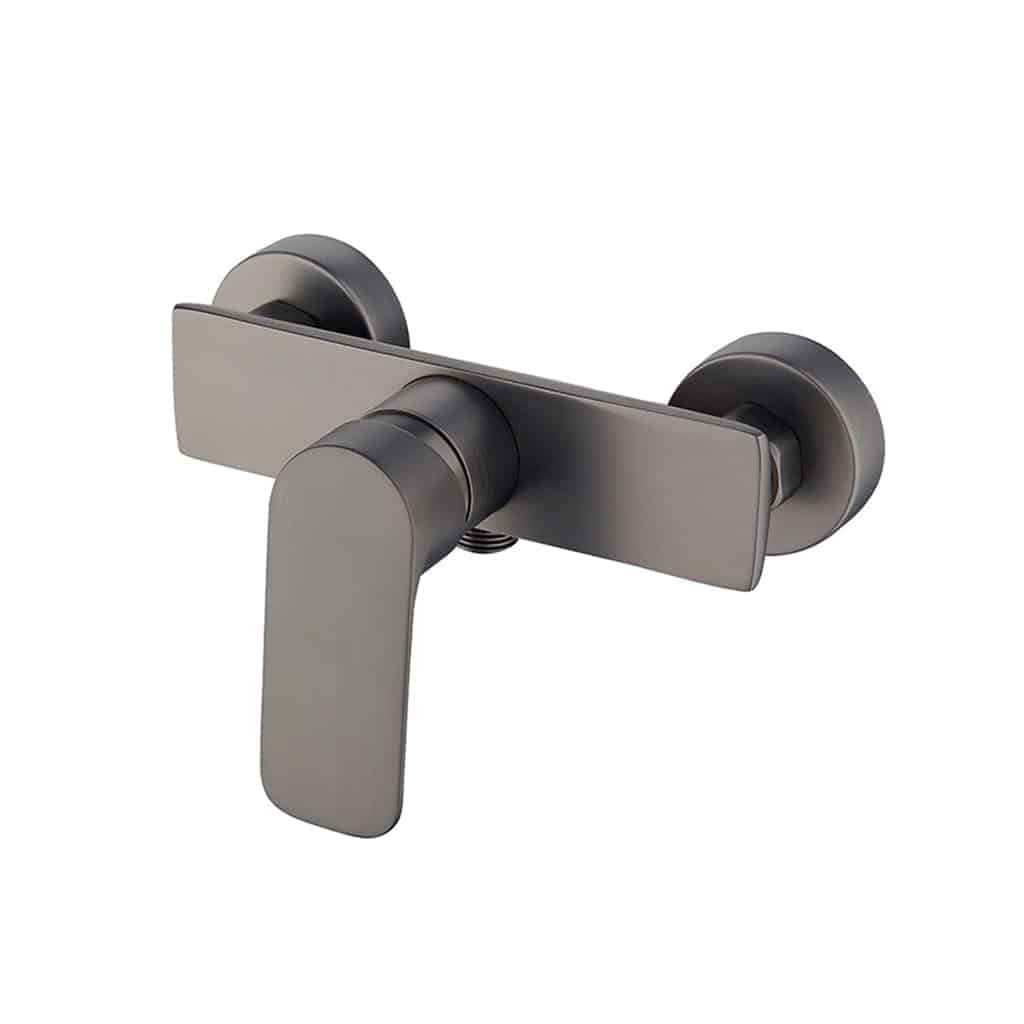
Gathering all your supplies and tools before you start is, like, a really smart move. You don't want to be halfway through a job and suddenly realize you're missing a crucial piece or a specific tool. For a project like how to plumb a wall mounted faucet, you'll need a few specialized items beyond your basic toolbox. Think about the faucet itself, of course; perhaps a model like the KS8120CML, which was used in one demonstration, could be a good example to consider. You'll also need various types of piping, fittings, and connectors that are appropriate for water supply lines.
Beyond the faucet and the pipes, you'll want some pipe cutters, a measuring tape, and a level. A stud finder will be very helpful for locating the wooden or metal studs inside your wall, which is, you know, pretty essential for safe installation. You might also need a drill with various bits, especially for making openings in the wall. Don't forget safety glasses and gloves; protecting yourself is always a good idea. Having a bucket or some towels nearby is also a smart plan, just in case there's any unexpected water. It's better to be prepared for little drips, you know, than to have a big mess.
For the actual connections, you'll need soldering equipment if you're working with copper pipes, or the right tools for PEX or CPVC if you choose those materials. Each type of pipe has its own specific connection method, so make sure you have the correct tools for the material you're using. And, of course, you'll need patching materials for the wall once the plumbing is in place, like drywall compound and paint. Having everything laid out and ready to go will make the whole process much smoother, really.
Planning Your Space for how to plumb a wall mounted faucet
Careful planning of the layout is, honestly, a very big part of getting this right. Since the water supply lines will be hidden behind the wall, you need to be extremely precise with your measurements. This isn't a situation where "close enough" will work, you know? You'll need to figure out the exact height and horizontal spacing for the faucet's rough-in valve, which is the part that goes inside the wall and connects to your water lines. This component usually has specific dimensions for the distance between the hot and cold water inlets, and where the spout will come out.
Consider the height of your sink or basin, too, and how far the faucet's spout needs to extend to comfortably reach the middle of it without splashing. A common mistake is putting the faucet too high or too low, or having the spout not reach far enough, which can be, like, pretty annoying to use. You might want to hold the faucet up against the wall, or even create a simple cardboard template, to visualize its position before you start making any permanent changes. This kind of visual check can save you from a lot of trouble later on, really.
Also, think about access. While the faucet itself is wall-mounted, you'll still need a way to get to the shut-off valves for the water supply. Typically, these are located below the sink, just as they would be for a regular faucet. Make sure your design allows for easy access to these points for maintenance or in case of an emergency. Planning for future needs is, in some respects, just as important as planning for the current installation. It’s about thinking ahead, you know, for what might come up down the line.
A wall mount faucet, you see, really does call for careful measurements and a good deal of attention to detail, especially since you'll be putting water supply lines behind the wall. This means marking out precisely where your pipes will run and where the faucet's connection points will be. You might even want to draw a diagram on the wall itself, using a pencil, to guide your work. This visual aid can be incredibly helpful for staying on track and ensuring everything lines up just so.
Preparing the Wall for Your New Faucet
Once your planning is all done and you have your tools ready, the next big step is getting the wall itself prepared for the new plumbing. This usually means opening up a section of the wall where the faucet will go. You'll need to cut out a piece of drywall or plaster to expose the studs and the space inside. Make sure you know where your electrical wires are, too, before you start cutting, because you definitely don't want to hit those. Using a stud finder, as mentioned earlier, is a very good idea to avoid any unexpected surprises.
After the wall is open, you'll need to make sure there's enough space between the studs for the faucet's rough-in valve and the water lines. Sometimes, you might need to add some blocking, which are horizontal pieces of wood between the studs, to provide a solid mounting point for the faucet assembly. This blocking is pretty important for stability, as it gives the faucet something firm to attach to, ensuring it stays put for years to come. It's about creating a strong foundation, you know, for the fixture.
This preparation phase also involves making sure the area is clean and clear of any debris. You want a clear workspace inside the wall cavity so you can easily connect your pipes. It's a bit like getting a surgical theater ready, in a way, everything needs to be just right for the operation. This is also a good time to check for any existing moisture issues or signs of leaks within the wall, as you'll have a clear view of the interior structure. Addressing these things now can save a lot of trouble later on, actually.
How Do You Connect the Water Lines Behind the Wall?
Connecting the water lines behind the wall is, arguably, the most important part of how to plumb a wall mounted faucet. This is where you bring the hot and cold water supply from your main lines to the faucet's rough-in valve. You'll run new pipes, typically copper, PEX, or CPVC, from your existing water supply lines up to the precise location you marked for the faucet. These connections need to be very secure and completely watertight, obviously, because leaks inside a wall can cause a lot of damage that you might not even see until it's too late.
You'll use fittings to join the new pipes to your existing plumbing. If you're using copper, this usually involves soldering, which requires a torch and some skill. For PEX, you'll use crimp rings or expansion fittings, which need special tools but are often simpler for a home improver. CPVC uses solvent cement to create strong bonds. No matter which material you choose, following the manufacturer's instructions for making connections is, like, absolutely key. Each type has its own quirks, you know.
The rough-in valve for the wall-mounted faucet will have specific inlets for the hot and cold water, and an outlet for the spout. You'll connect your newly run supply lines to these inlets. It's really important to make sure the hot water line connects to the hot inlet and the cold to the cold, which sounds simple, but it's easy to mix up if you're not paying close attention. Once all the connections are made, and before you close up the wall, you should definitely turn on the main water supply and check for any leaks. This is your chance to fix anything before it's hidden away, which is, you know, pretty valuable.
You'll want to ensure that the rough-in valve is firmly attached to the blocking you installed earlier. This prevents the faucet from wiggling or feeling loose once it's installed. A loose faucet can be, well, quite annoying to use and might even put strain on your plumbing connections over time. This part of the process requires a steady hand and a good eye for making sure everything is perfectly straight and level. It's a bit like building a house, you know, the foundation has to be solid.
Putting It All Together - The Final Steps
After the rough-in plumbing is all set and you've checked for leaks, the next phase is to close up the wall and install the visible parts of the faucet. This means patching the drywall or plaster you cut out, making it smooth and ready for paint or tile. You'll want to make sure the opening for the faucet's spout and handles is precisely cut, so the trim plates can sit flush against the wall. This part of the job is where the aesthetics really come into play, honestly.
Once the wall is finished and dry, you can attach the decorative trim pieces, the handles, and the spout. These usually come with gaskets or O-rings that help create a seal against the wall and prevent water from getting behind the finish. Follow the faucet manufacturer's specific instructions for assembling these outer parts, as they can vary a bit from model to model. For example, a faucet from Speakman, like the one Adam Horwitz might talk about, could have its own unique assembly steps. It's about putting the pretty face on the work you've done, you know?
Finally, you'll turn the water back on at the main shut-off valve and test the faucet. Run both hot and cold water, checking for proper flow and temperature. Listen for any strange noises in the pipes, too, and look for any drips around the spout or handles. It's a really good idea to keep an eye on the area behind the wall for a few days after installation, just to be extra sure there are no slow, hidden leaks. A quick check periodically can save you a lot of trouble down the line, really.
What Should You Watch Out For When You Plumb a Wall Mounted Faucet?
There are, like, a few things to keep in mind to avoid problems when you plumb a wall mounted faucet. First off, as we've talked about, measurements are absolutely everything. A slight miscalculation can mean the faucet doesn't line up with your sink, or the holes in your wall are in the wrong spot. Double-check, even triple-check, all your dimensions before you make any cuts or permanent connections. This careful approach is, you know, pretty much your best friend here.
Second, make sure your wall can actually support the faucet and the rough-in valve.